
Setting up preferences
Open the client profile and navigate to the Preferences tab. On the left side, select personal, skills, and training preferences using the tick boxes. These filters help narrow down suitable workers.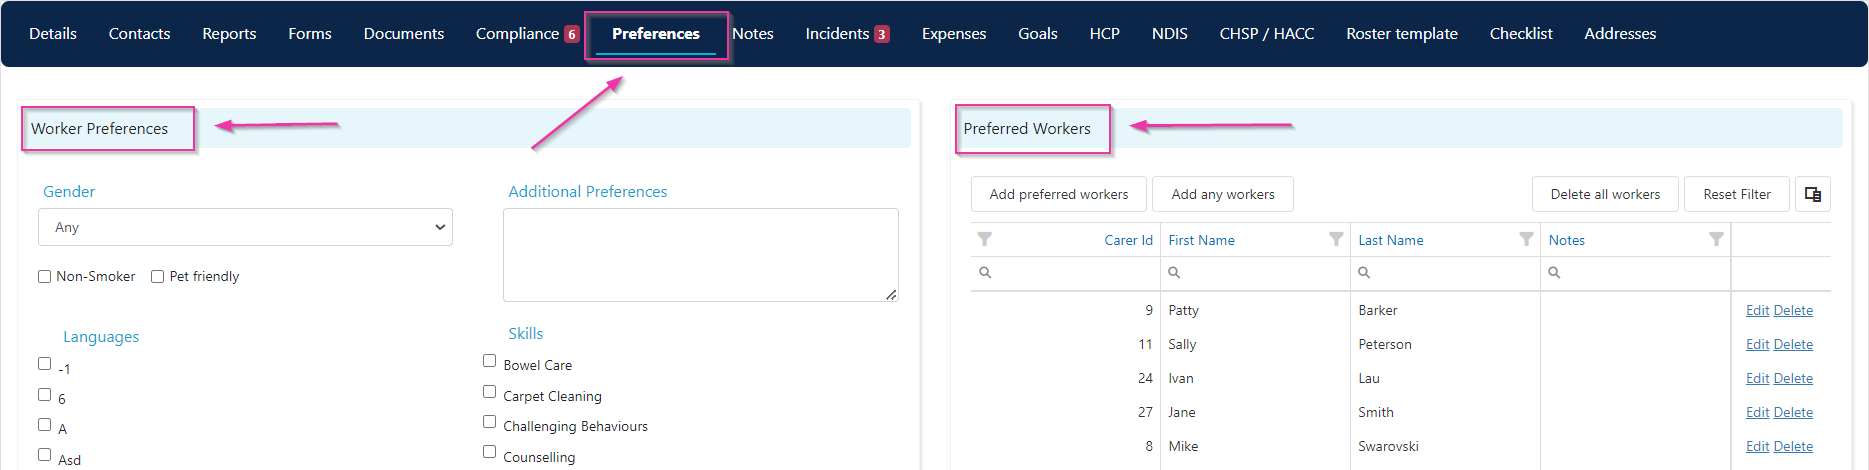
Adding preferred workers
In the Preferred Workers section, click Add Preferred Workers. The list is filtered by the preferences you’ve selected. Choose the workers you want and click Add Selected Workers. You also have the option to add non-preferred workers to flag workers who are not suitable for this client. In the Non-Preferred Workers section, click Add Workers, select the workers, and click Add Selected Workers.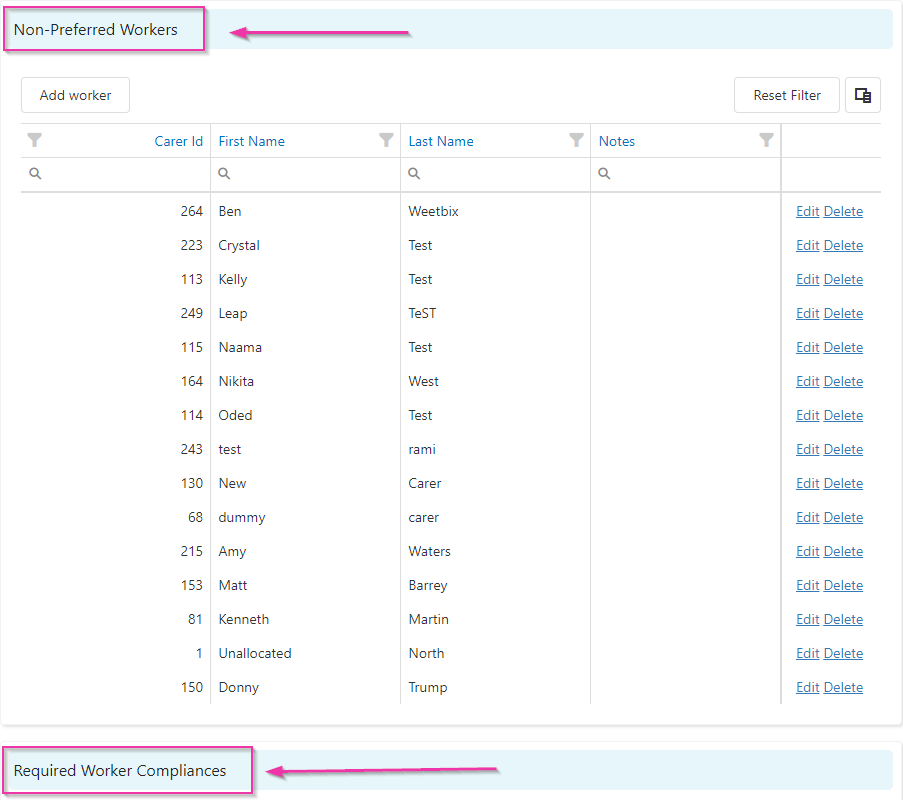
Placing workers on hold
The Worker Restrictions section lets you restrict specific workers from being rostered to this client without marking them as non-preferred. Open the client profile, navigate to the Preferences tab, and scroll down to the Worker Restrictions section. Click Edit, select the worker or workers you want to place on hold, and click Save selected workers.Running into issues?
See Client management troubleshooting for common errors and fixes.Related articles
Required compliance items
Set up compliance templates that feed into preferences
Creating a client profile
Set up the client profile that holds preferences